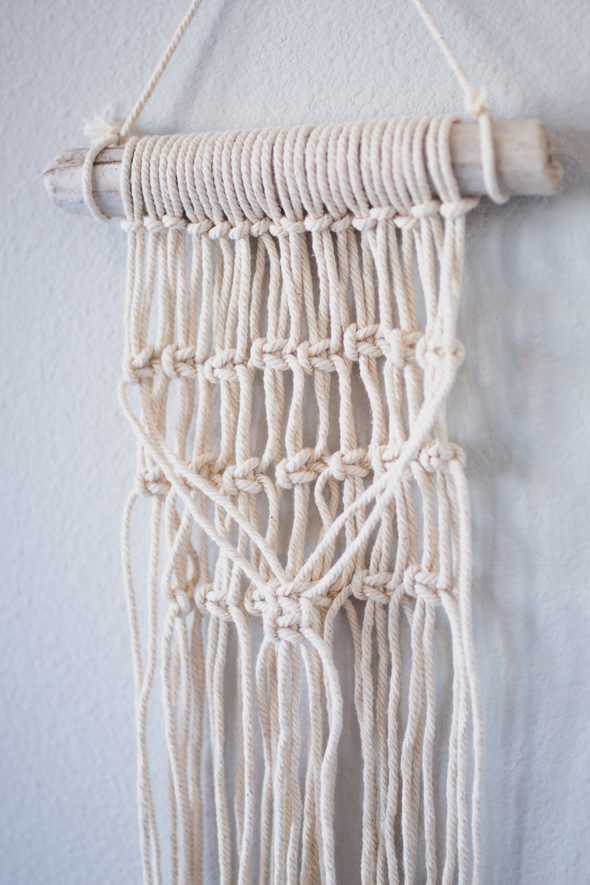
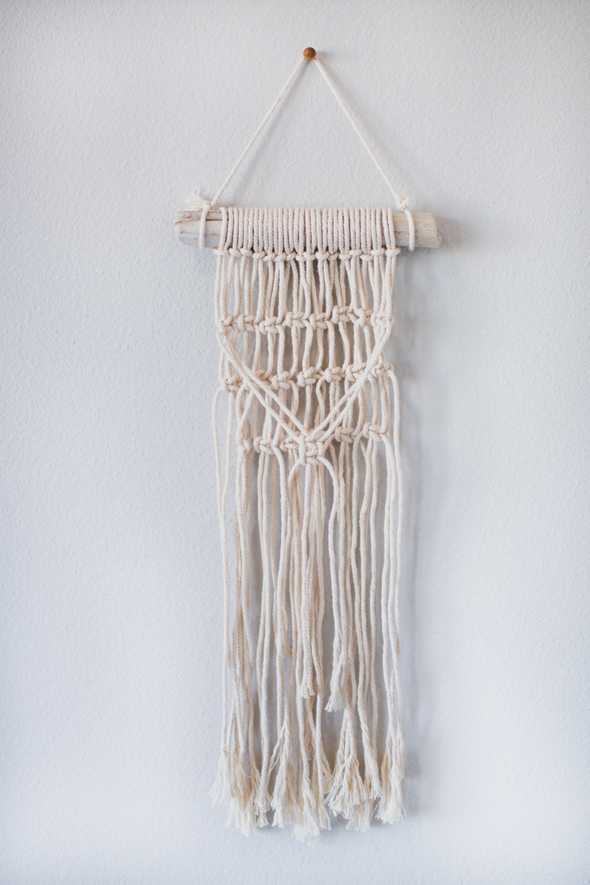
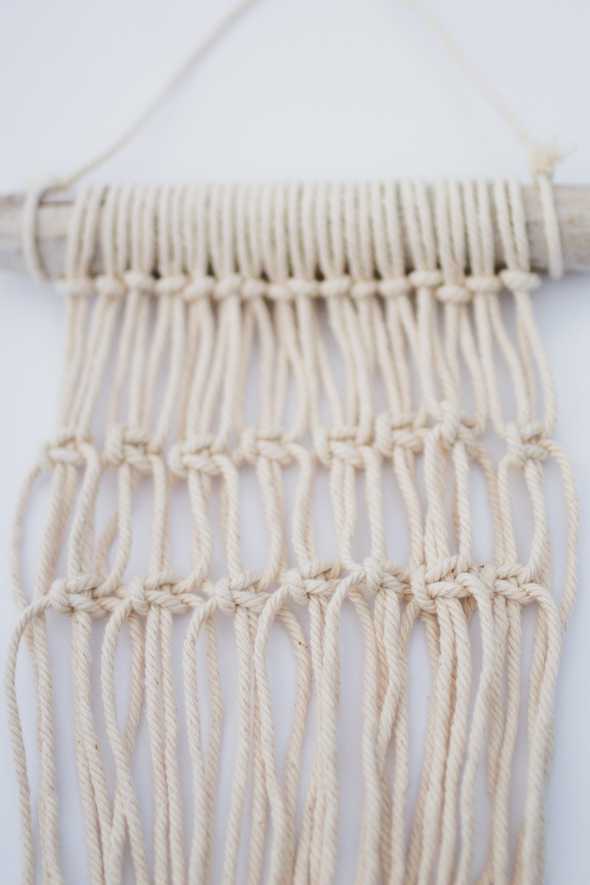
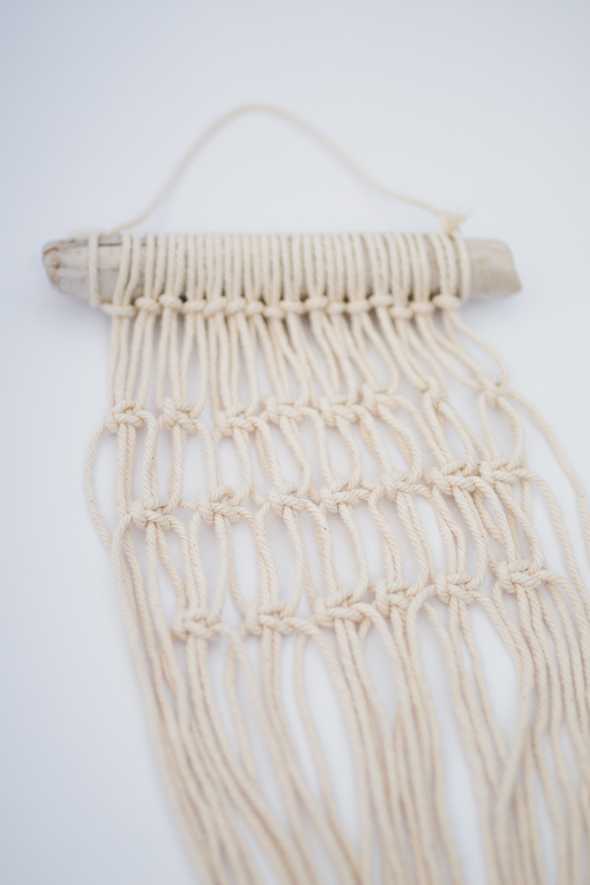
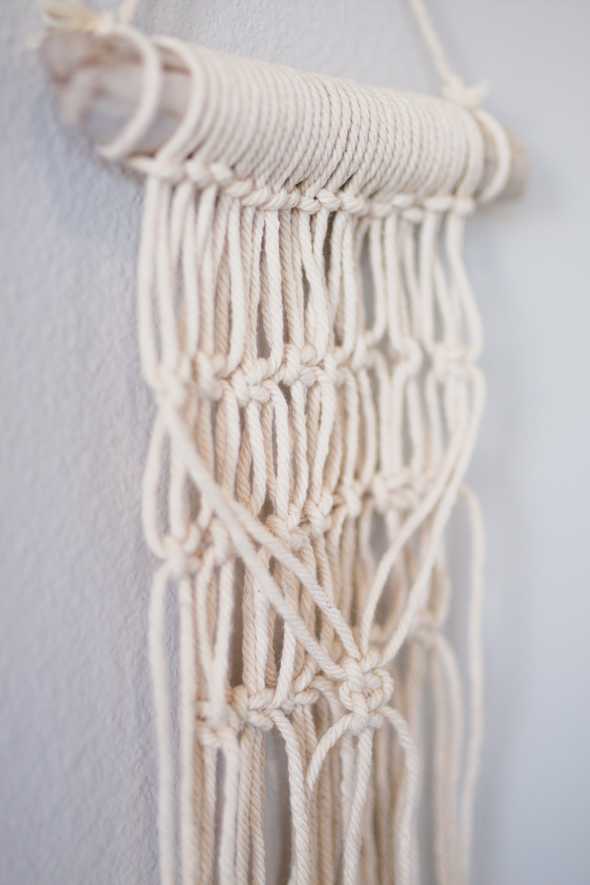
Macrame has become a “zone out” activity for me. A simple way to take a break from overthinking everything (a talent of mine) and just create. This wall hanging is very simple - using only two types of knots - and can be done in about a half hour. Another plus, I was able to use a beautiful piece of driftwood I recently collected on the Puget Sound!
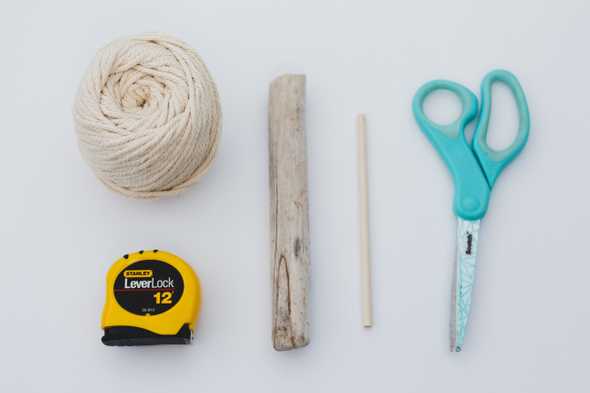
THE MATERIALS
3mm cotton cord
6” - 8” dowel or stick (I used a piece of driftwood about 7.5” long with a 1”
diameter)
Measuring tape
Sharp scissors
THE PROCESS
Gather materials, then measure and cut 16 pieces of 48” (4 feet) long rope.
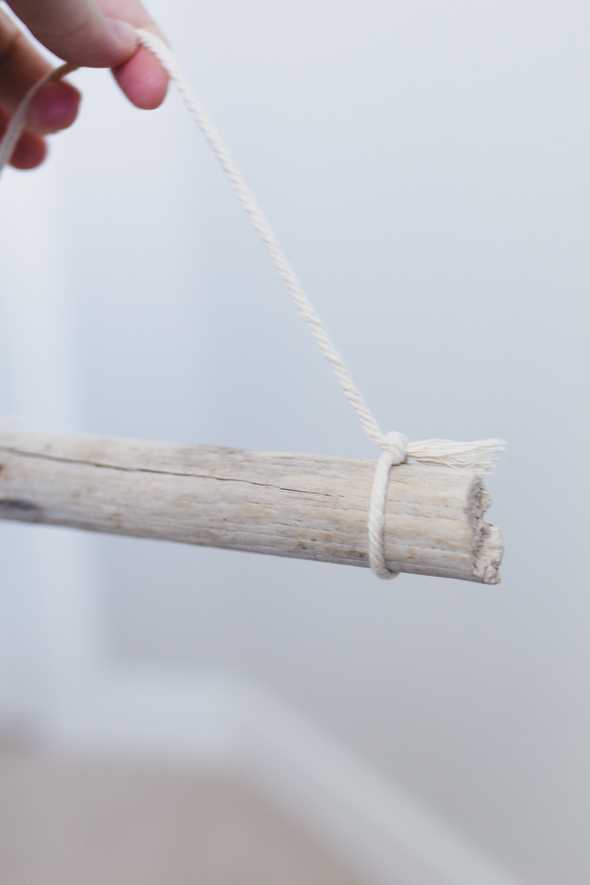
Cut another piece of rope that is about 1.5 times the length of your stick/dowel. Knot it around each end of the stick/dowel so that it can be hung up.
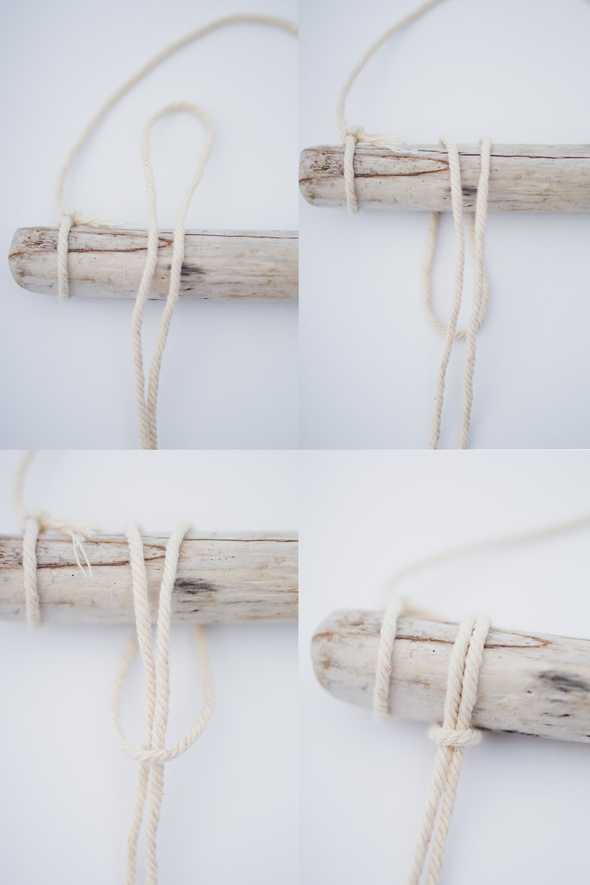
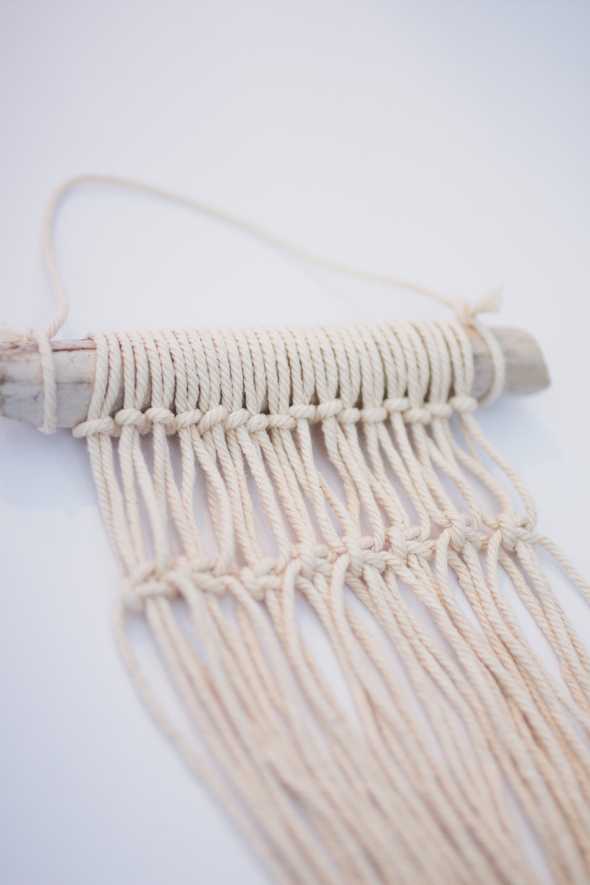
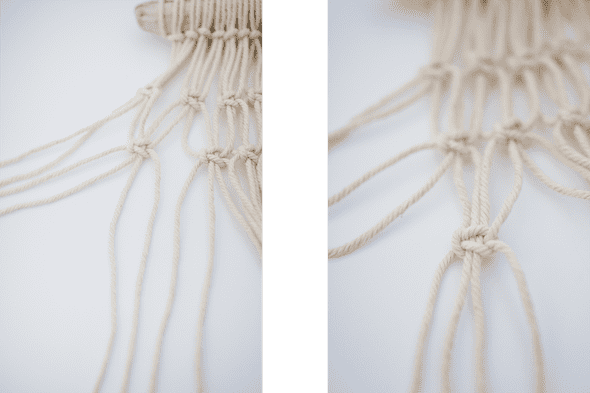
Attach the 16, 48” cords to your stick using a lark’s head knot. To do this, fold the rope in half and drape the loop end over the stick, pulling it underneath to the front. Then slip the other ends through the loop and pull tight! Repeat until all 16 are attached!
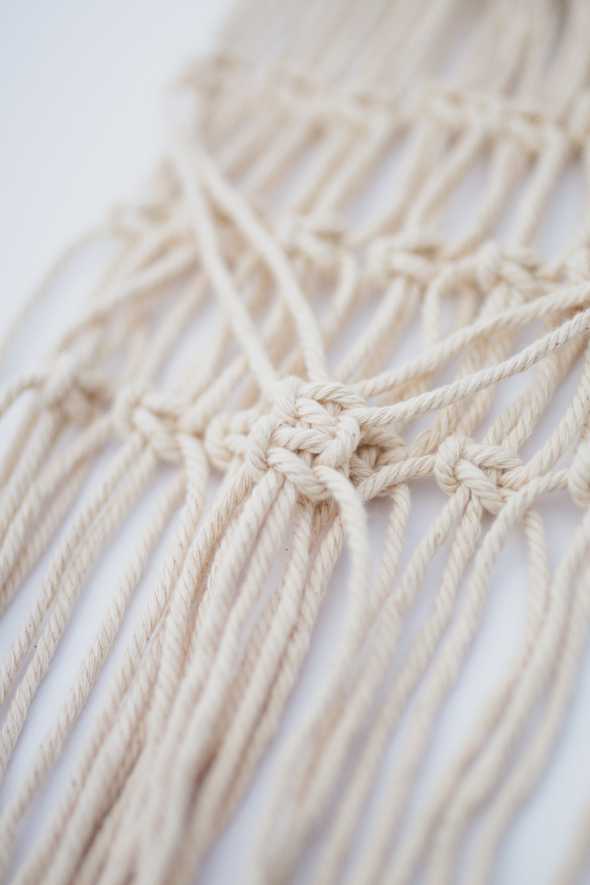
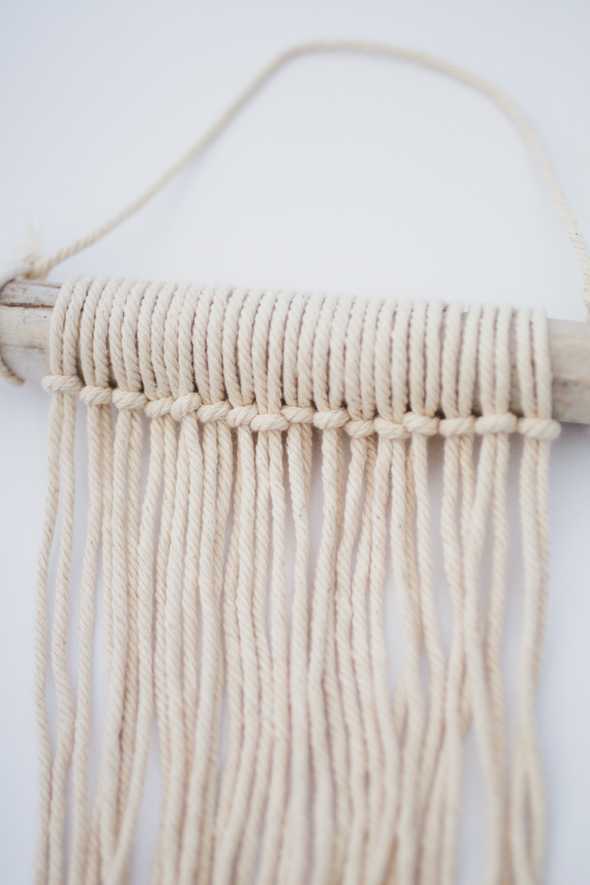
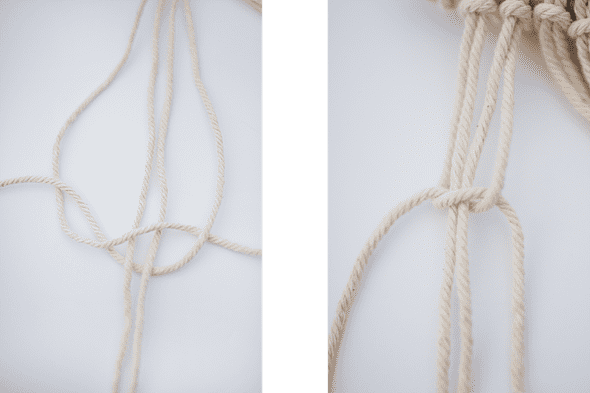
For the rest of the wall hanging, you’ll be using square knots. Tie your first row of square knots by first, separating the four ropes on the left hand side. Bring the two in the middle closer together, then fold the left rope over the middle two, leaving the right rope over the left.
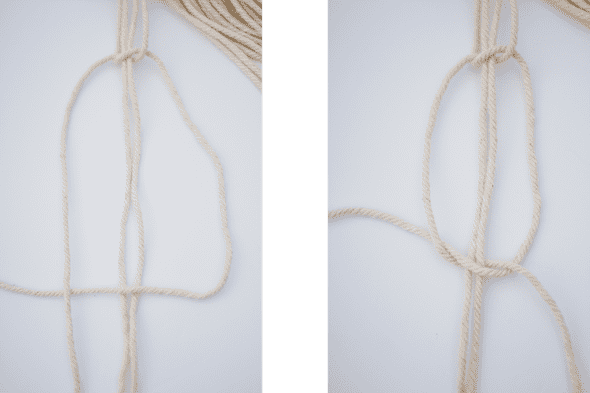
Bring the right rope under the middle two and up through the loop created by the left rope. Pull tight, leaving about 2” of rope above it.
Complete the square knot by repeating the same process in reverse. This time the right rope will create the loop and the left will go under the middle two and up through it. Pull tight until it joins the first part of the knot you tied.
Repeat the square knots across the ropes - you will have eight knots in total.
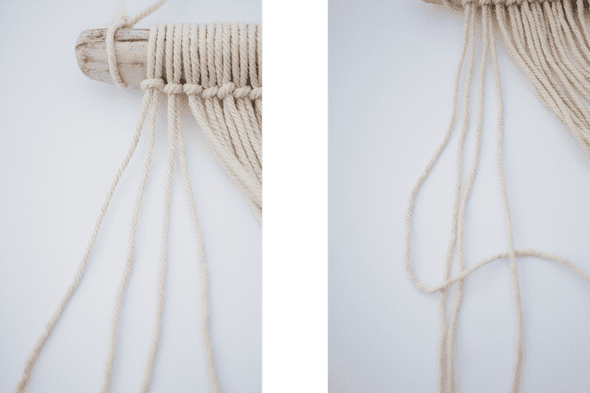
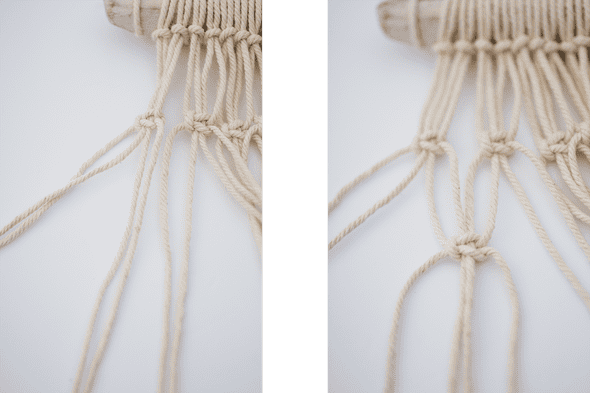
Begin your next row of square knots by moving the two far left ropes off to the side and grabbing the next four. Tie a square knot, leaving about 2” of rope above it.
Repeat this process until you have seven square knots in your second row. Be sure to leave two loose ropes on the right side to match the left.
For the final row of square knots, move the left four ropes off to the side and grab the next four. Tie a square knot, leaving about 2” of rope above it.
Repeat this process until you have six square knots in your third row. Be sure to leave four loose ropes on the right side to match the left.
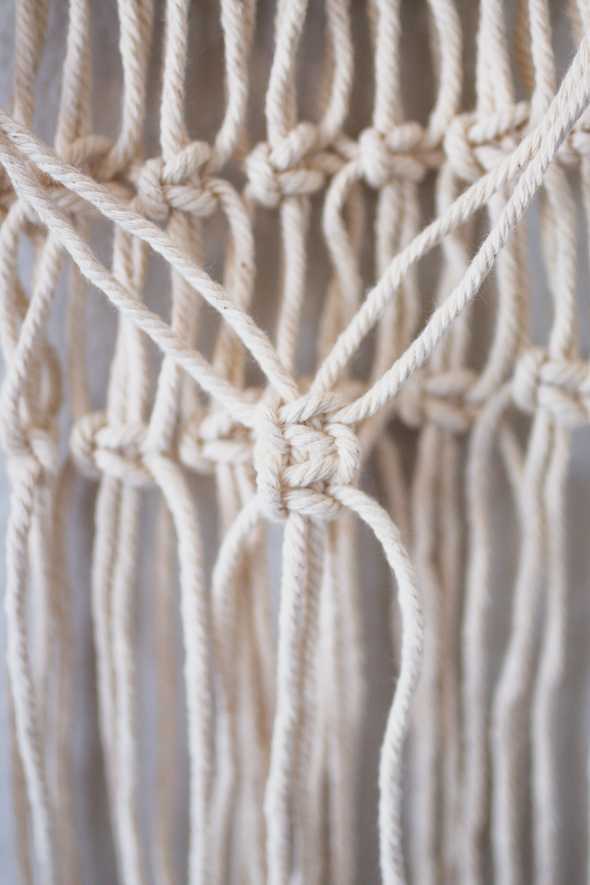
Take the left two ropes and the right two ropes and pull them across the top of your wall hanging. Tie two square knots, one after the other.
Trim the ends of the ropes to match length and it’s finished! Enjoy your beautiful handiwork!
// Finished product will be around 18”-20” tall depending on stick/dowel diameter //
