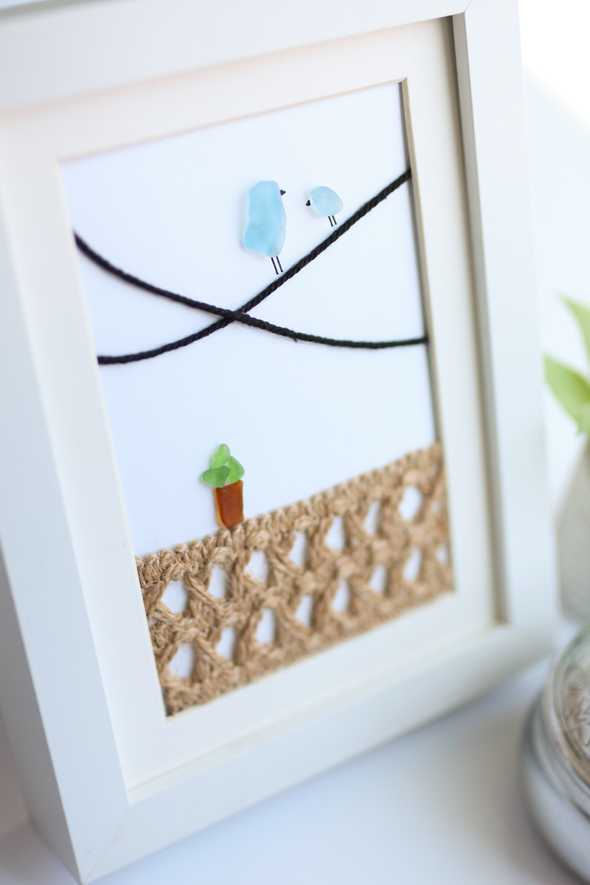
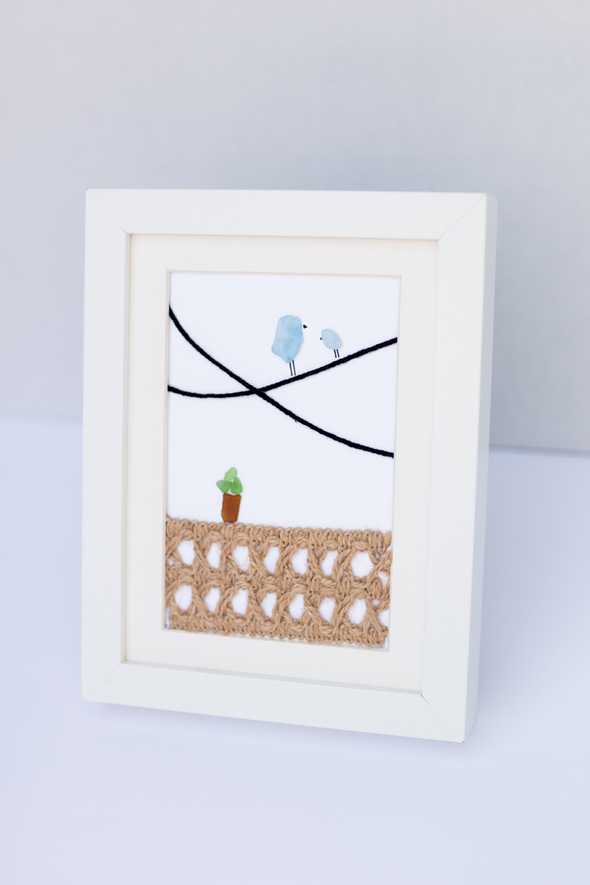
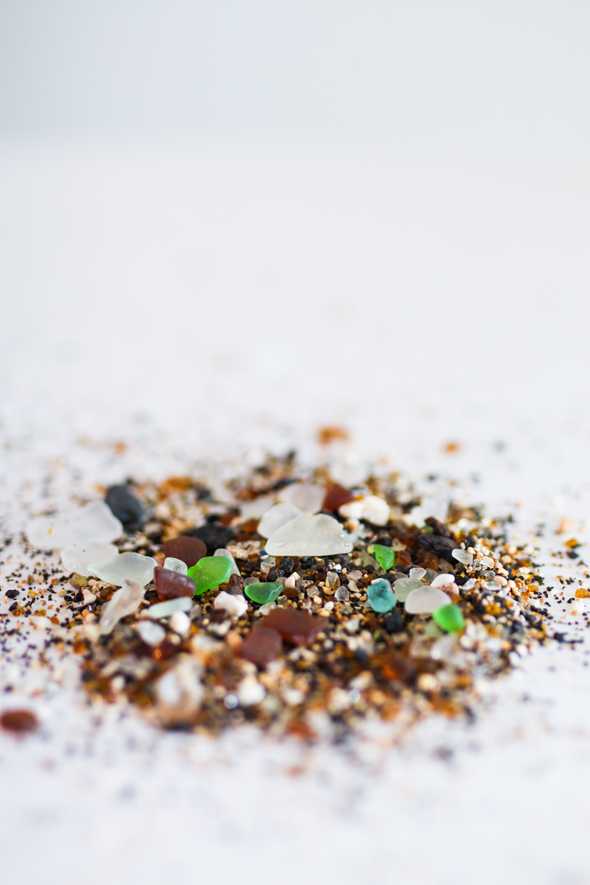
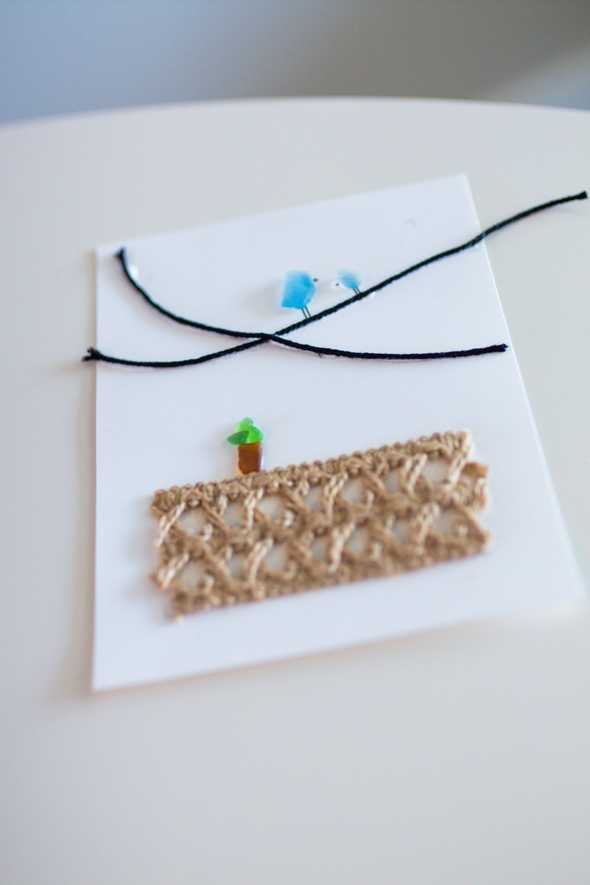
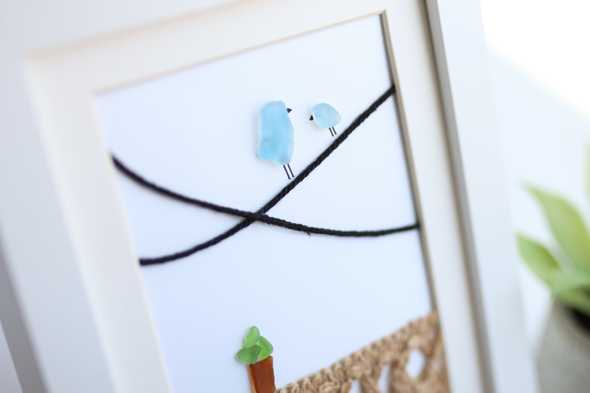
During my first and only trip to Hawaii, I collected a plastic watter bottle full of sand and sea glass to bring home for crafting purposes. Although it warranted an extra search going through security, it was worth it! I finally broke out that water bottle and was met with interesting smells. Despite that, it was fun to be creative with its contents! I like to think the little birdies are my sweet daughter Isla and I!
THE MATERIALS
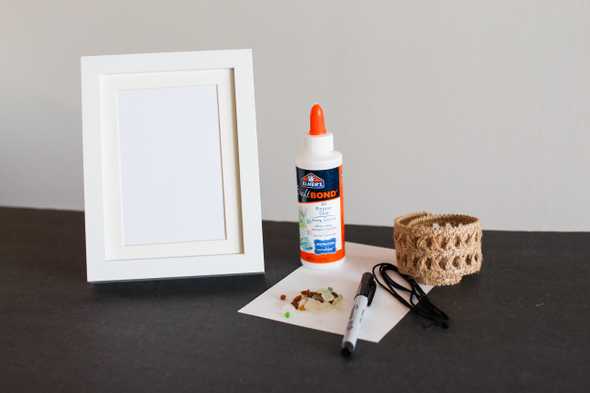
- 5x7 frame with mat (I repurposed one I already had from IKEA)
- 5x7 piece of white cardstock
- Sea glass pieces (could also use small pebbles)
- Craft glue
- Baker’s twine, burlap ribbon, or other similar items
- Thin black marker/pen
THE PROCESS
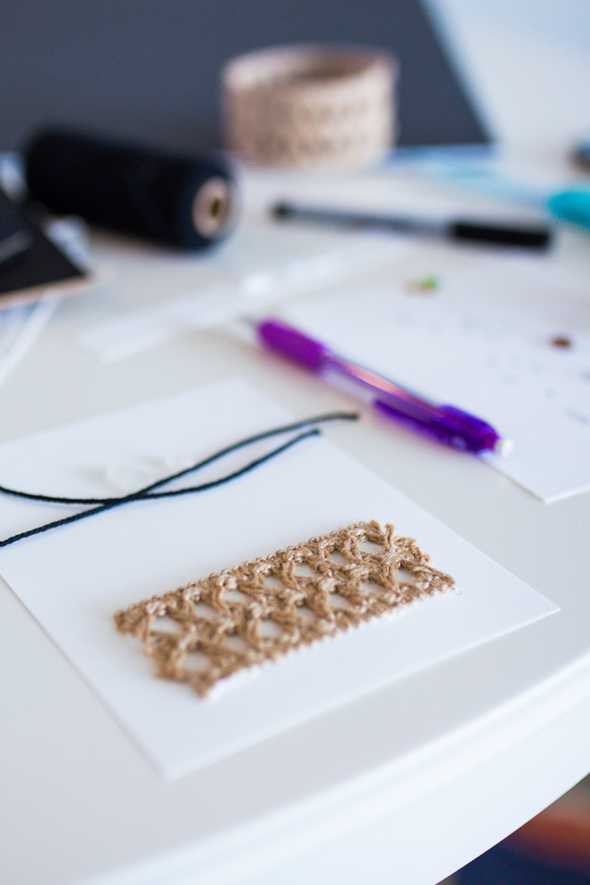
Gather materials and sort through glass to select potential pieces to use.
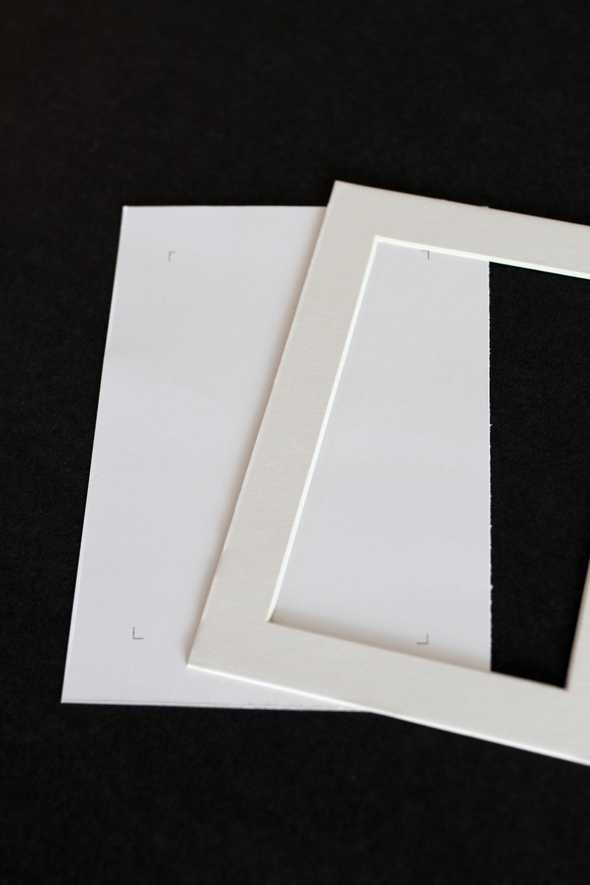
Remove backing, glass, and mat of the frame. Use the mat to mark on the 5x7 cardstock what will be visible once framed.
Experiment with a design - the sky is the limit! Lay things out and use a pencil to lightly mark where things will go.
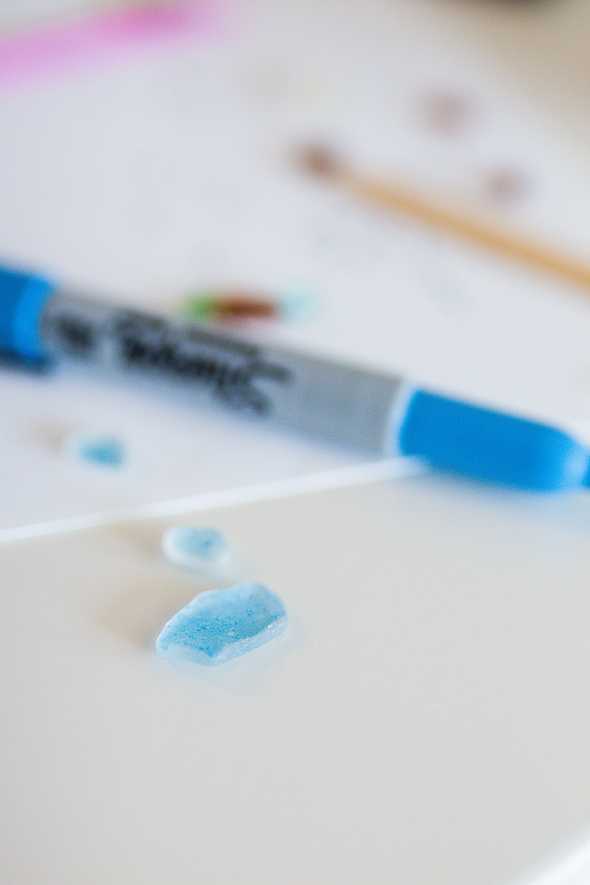
If using clear sea glass, use a light colored permanent marker on the back to give it a subtle color. I used a baby blue on the pieces used for the birds.
Glue time! Use craft glue to attatch your pieces. Some may need to dry before you add others. Use a toothpick or popsicle stick to remove excess glue around string, etc. Allow it to dry.
Snip off any loose ends hanging off of the cardstock and insert in frame. Note the glass will no longer be visible and should be placed behind the art work.
Smile because you made something beautiful!
// Inspired by Arty Bird //
